Communication and Contact Channels (CMS)
Description, Purpose and Objective
NOTE
The Contact Information view in the CMS is the module where the customer service channels, institutional telephone numbers, WhatsApp links, physical addresses and support emails displayed on the public front page are managed.
A Contact Channel defines the name of the channel, descriptive title, representative icon (Material Icons), type of contact (e.g. Telephone, Email, WhatsApp, Location), descriptive text or value of the contact data, direct web link (URL) and sorting priority.
The objective of this module is to offer visitors to the public portal immediate and updated means of communication with the company's support, sales and administration staff.
Context of Use
This module is used by:
- Operations and Customer Service Administrators: To update phone lines, support chat links or institutional emails.
- System Administrators: To enable or suspend service channels according to operational availability.
Possible Actions
1. Consult the List of Contact Channels
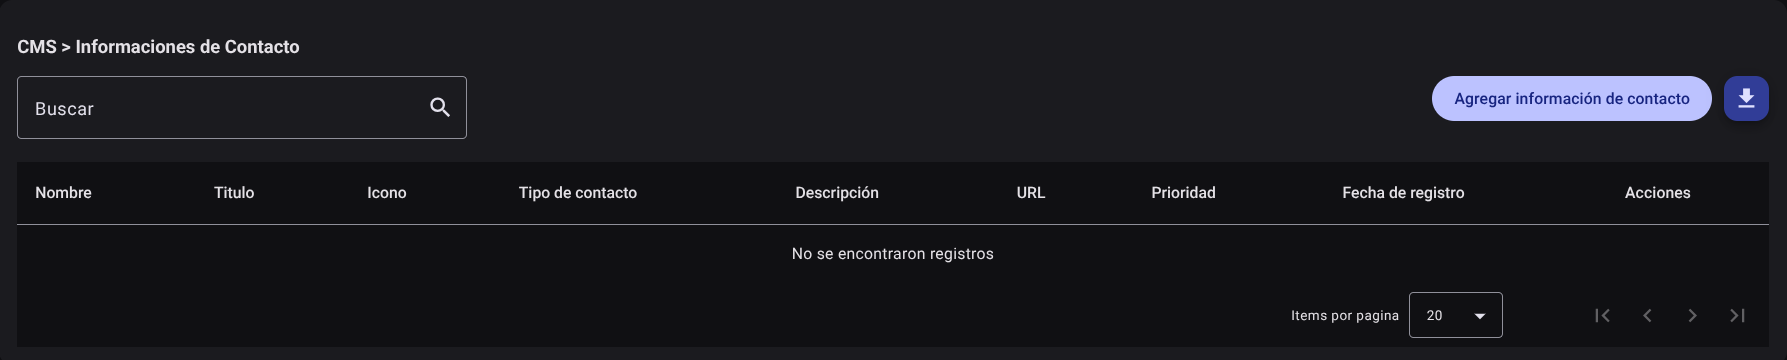
- In the main administration table, display the contact channels with the columns: Name, Title, Icon, Contact Type, Description, URL, Priority, Registration Date and Actions.
- Use the "Search" field to filter channels by type (e.g. WhatsApp, Email), name or description.
- Sort the rows according to the level of attention priority.
2. Register a New Contact Channel
- Click the "Add Contact Information" button.

- Fill out the required fields on the side panel form:
- Name: Channel identifier (e.g. WhatsApp Attention, Support Email, National Line).
- Title: Explanatory header of the channel.
- Icon: Name of the icon from the Material Icons library (e.g.
phone,email,whatsapp). - Type of contact: Classification of the communication channel (Phone, Email, Social Network, Location).
- Description: Telephone number, email address or informative text of the channel.
- URL: Direct action link (e.g.
https://wa.me/...ormailto:...). - Priority: Integer to determine the position of the channel in the footer or contact section.
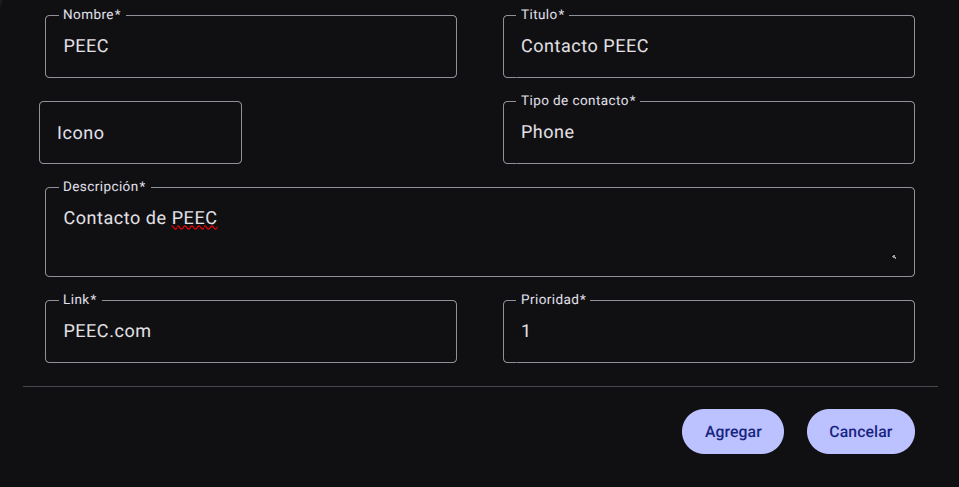
- Save the record by clicking "Save".

3. Edit a Contact Channel
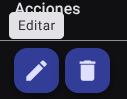
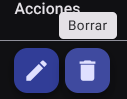
- Locate the channel in the table and click the edit button (pencil icon✏️) in the actions column.
- Modify the desired fields and save the changes to the Save button.
4. Delete a Contact Channel
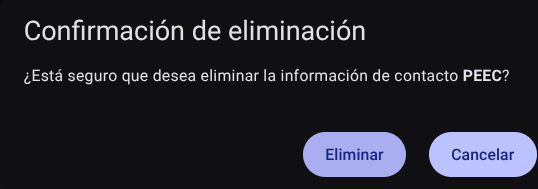
- To delete a caal, use the delete button (trash can icon🗑️) in the actions column.
- confirm the action.
5. Export the Contact Channel Catalog
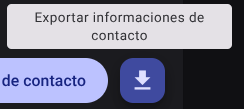
- Click the Export contact information button (download icon). You will obtain a report in CSV/Excel format with the complete inventory of configured contact channels.
Required Technical Permits
contact_info_read: Allows you to consult the configured contact channels.contact_info_create: Authorizes the addition of new service channels on the platform.contact_info_update: Enable updating phone data, emails, icons and priorities.contact_info_delete: Allows you to unpublish or delete contact channels.contact_info_export: Allows downloading of the complete contact information report.