File Management in My Processes
Description, Purpose and Objective
NOTE
The My Processes module is the central legal control console designed for the management, consultation, organization and detailed monitoring of judicial files within the platform. Its objective is to unify the administration of cases, allowing files to be classified automatically according to their origin or official source, control their actions and maintain operational consistency in the daily monitoring of litigation.
Context of Use
This panel is operated daily by lawyers, judicial clerks and law firm directors to:
- Monitor actions and procedural terms of ongoing lawsuits.
- Consult office movements through official integrations or manual records.
- Archive completed processes and keep the legal portfolio organized.
1. Structure and Organization by Submodules (Left Panel)
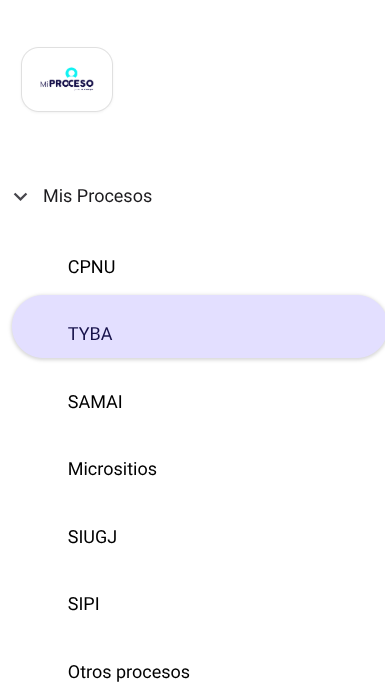
The platform divides and organizes the files into folders or submodules in the side panel according to the system or public entity of origin:
- Categorization by sources: Filings are automatically classified as they are incorporated into the system under the following folders:
- CPNU: Unified National Process Consultation of the Judicial Branch.
- TYBA: Files from the TYBA judicial platform.
- SAMAI: Processes of the Administrative Litigation jurisdiction (Council of State).
- Microsites: Courts and offices with publication on isolated pages or microsites of the Judicial Branch.
- SIUGJ: Unified Judicial Management Information System.
- SIPI: Industrial Property System (Superintendency of Industry and Commerce).
- Other processes: Additional entities or custom manual records.
- Interface consistency: In order to simplify the workflow, all submodules inherit the same table display, data fields, metadata columns, and individual and bulk management instruments.
2. Search, Filtering and Process Creation
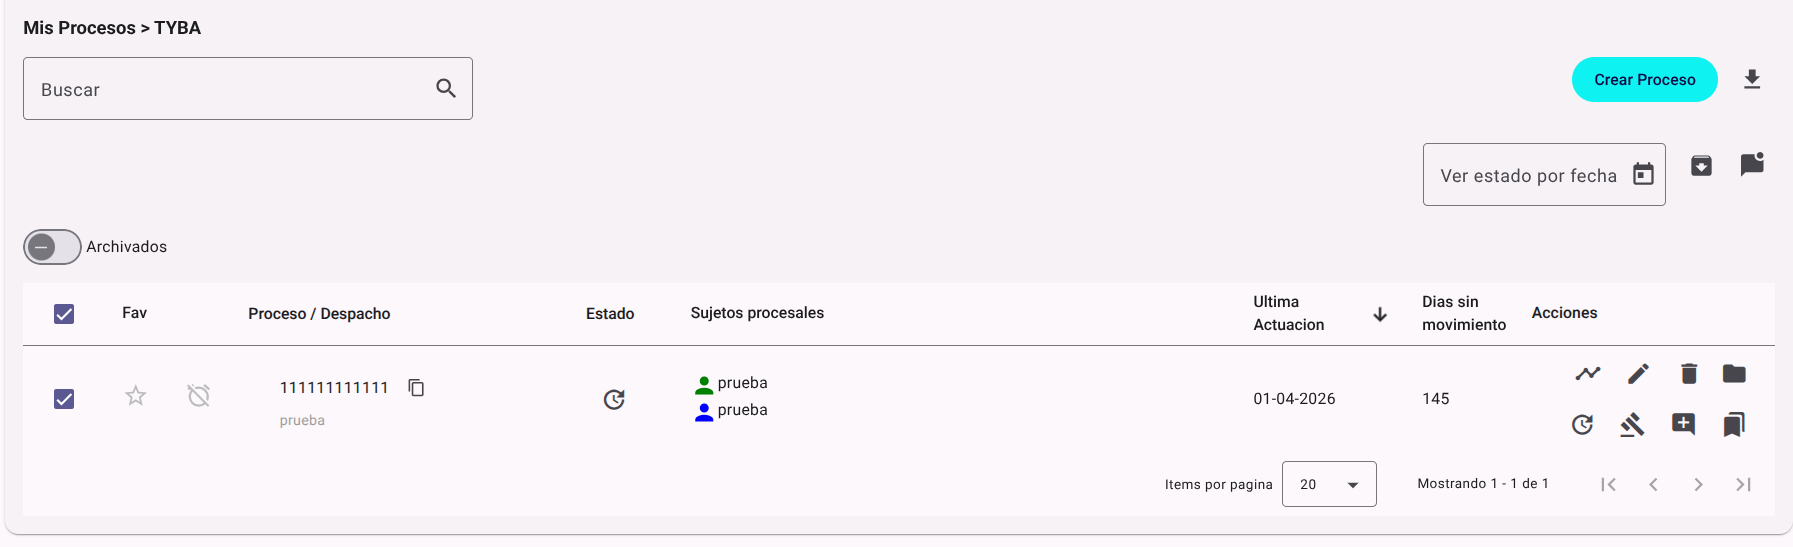
To manage the file tray, the module has the following superior options:
- Create Process:
- Click the green Create Process button in the upper right corner.
- In the pop-up side panel, enter the regulatory 23-digit Address.
- Press the Validate process button to check its existence and validate data.
- Click Save to finish registration. The case will be automatically classified within the active submodule.
- Temporary search and query:
- General search engine: Use the entry bar (Search) to quickly locate files by their assigned filing or office number.
- View status by date: Define a specific time interval or range to examine behavior and performance history in that time window.
- Export data: Press the download icon located next to the Create Process button to export the complete list of files with their main metadata to a local file.
3. Mass Actions (Box Selection)
By checking the checkbox (checkbox) next to one or more files in the list, the following batch administration buttons will be dynamically activated in the header:
- Archive / Unarchive:
- Click on the corresponding button to move the selected files to the Archived historical repository (outside the daily operational view).
- To view or retrieve these logs, activate the Archived master switch. Select the desired files and press the recovery button to restore them to the main list.
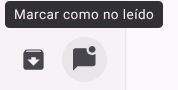
- Mark as read / unread: Use the envelope icon to toggle the visual status of reading the news of the selected cases, allowing the team to know which files have actions pending review.

4. Individual File Management (Actions Column)
Each entry in the table has a menu of tools in the Actions column to interact in a unitary way with the case:
History and Synchronization
- View status history: Displays the complete schedule of actions and historical events detected by the system for that filing.
- Update status: Forces a request to the server to consult, validate and integrate any new action at that moment directly from the source office.
- Link from the court: Links the internal registry of the platform with the database of the official entity of origin of the court to maintain traceability.
Documentation and Metadata
- Process folder: Open the digital folder and file attachment manager to view or upload records, memorials and evidence.
- Modify labels: Opens the classification palette to assign or edit chromatic labels that identify the priority or area of the case.
- Add comment: Allows you to write observations or internal notes that are recorded in the file log.
Administration
- Edit: Modifies the basic information uploaded to the file (parties, court, etc.).

- Delete: Permanently deletes the process from the organization tray.
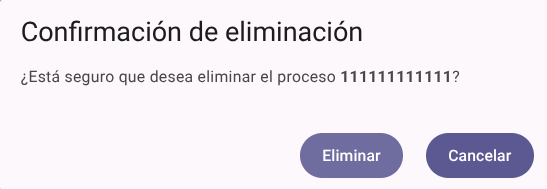
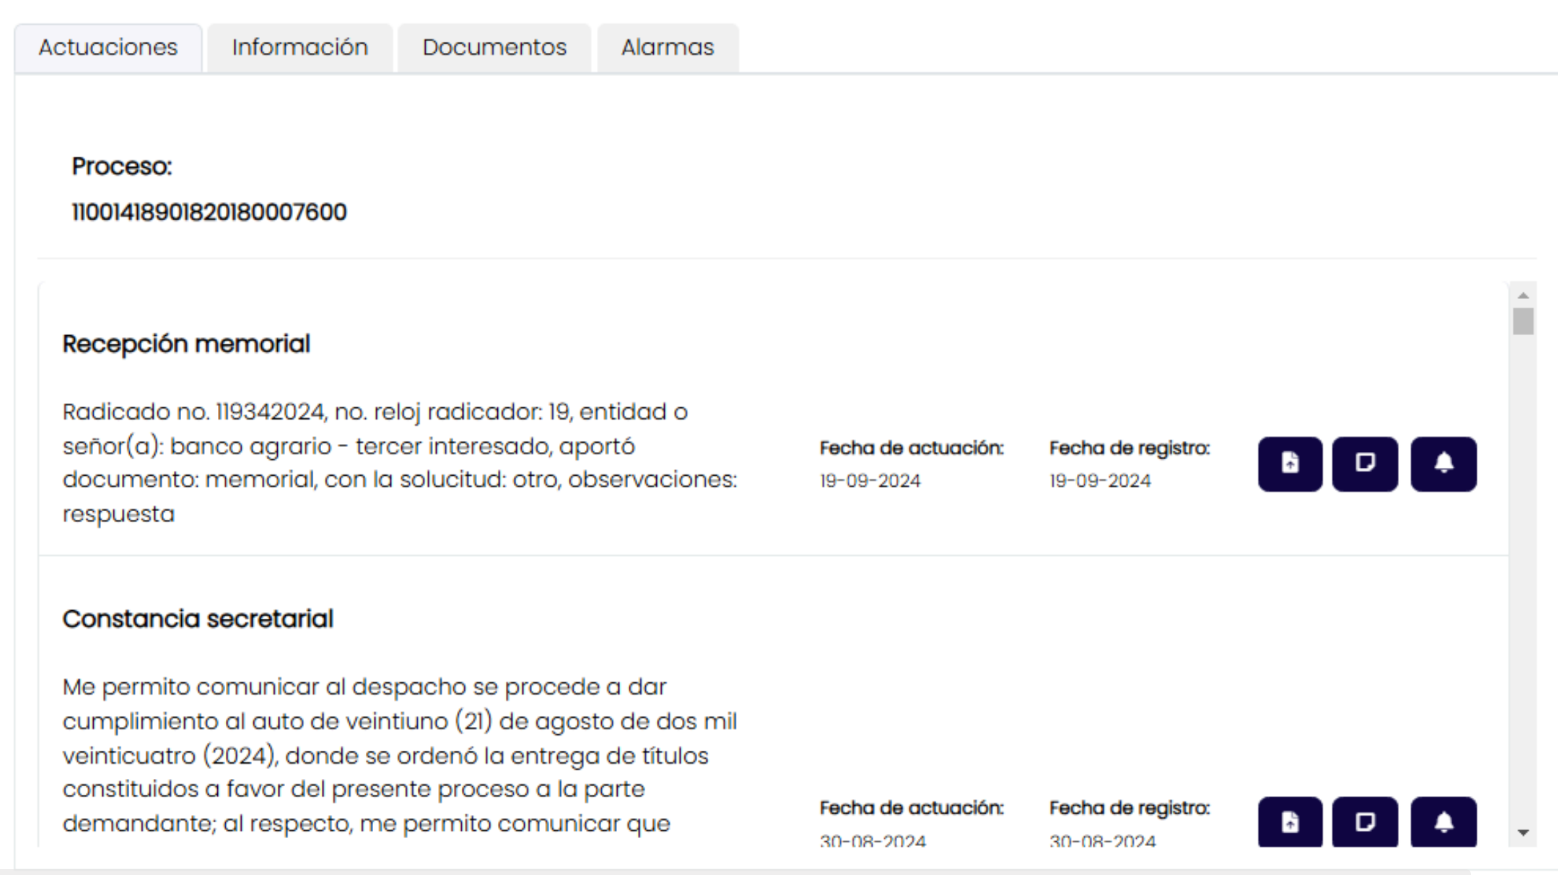
##5. Tabs: When you click on any process, a view with different tabs will open:
Tab 1: Performances
Shows the chronological list of registered movements.
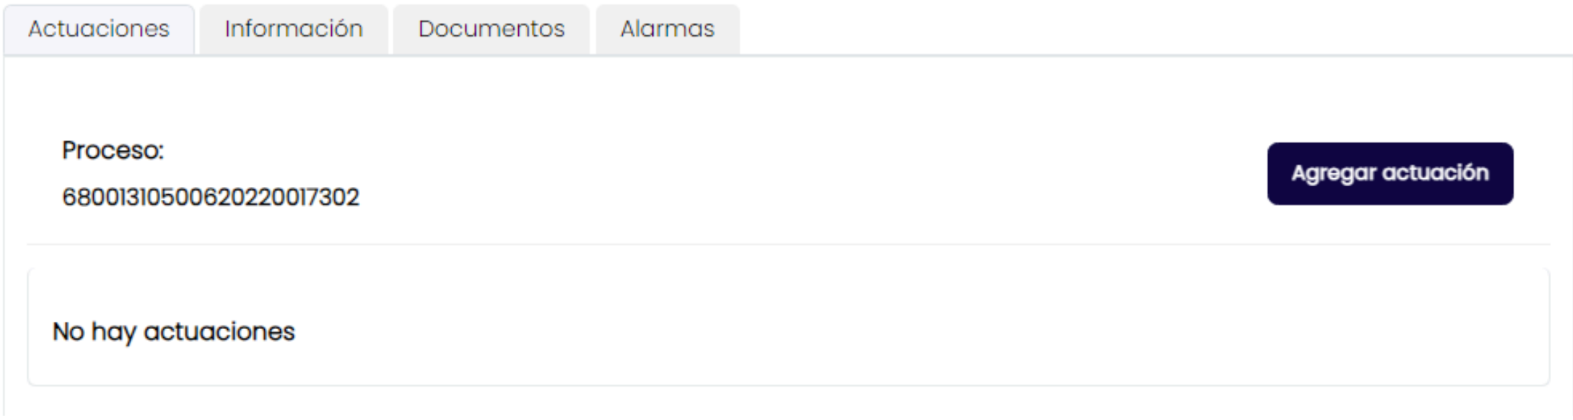
- Add Performance: Click this button to open the registration window and enter:
- Date: Day on which the performance takes place.
- Action: The type of providence or movement (e.g. Auto decrees tests).
- Annotation: Detailed summary of the contents of the order or memorial.
- Click Save. The record will be added immediately and notification will be scheduled for the next day.
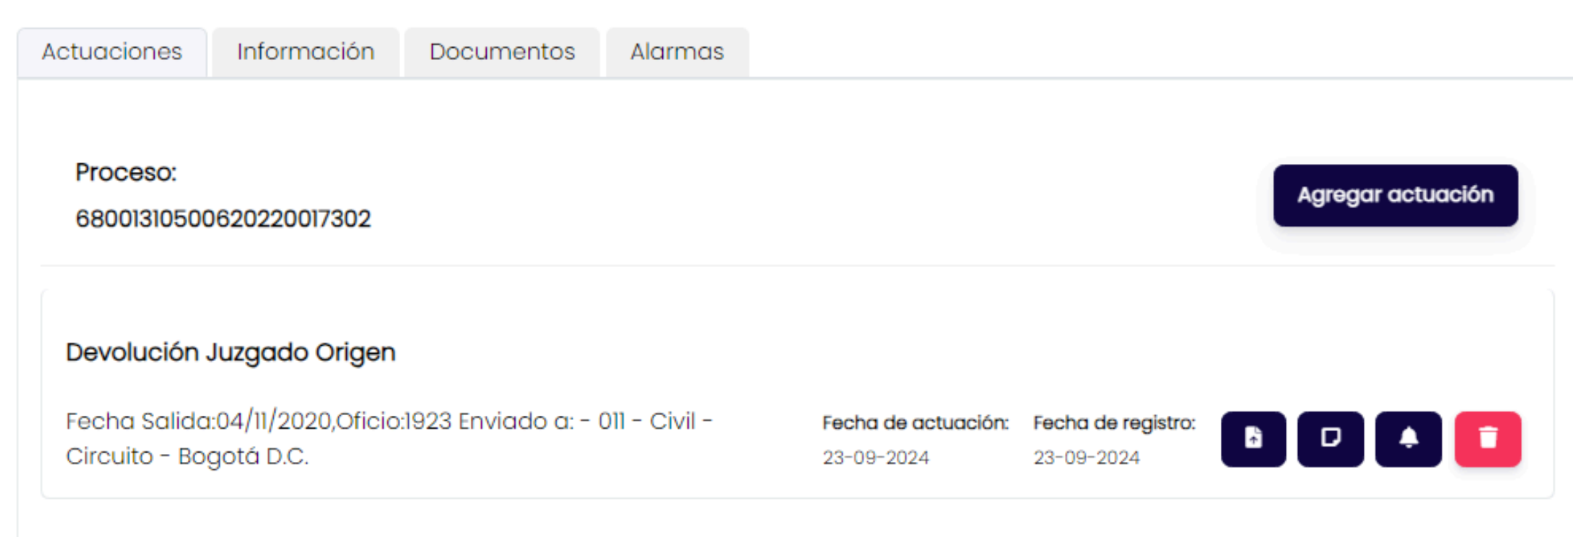
- Action Actions: To the right of each action in the list there are shortcuts to: upload support documents, add additional annotations, configure specific alarms or delete the action.
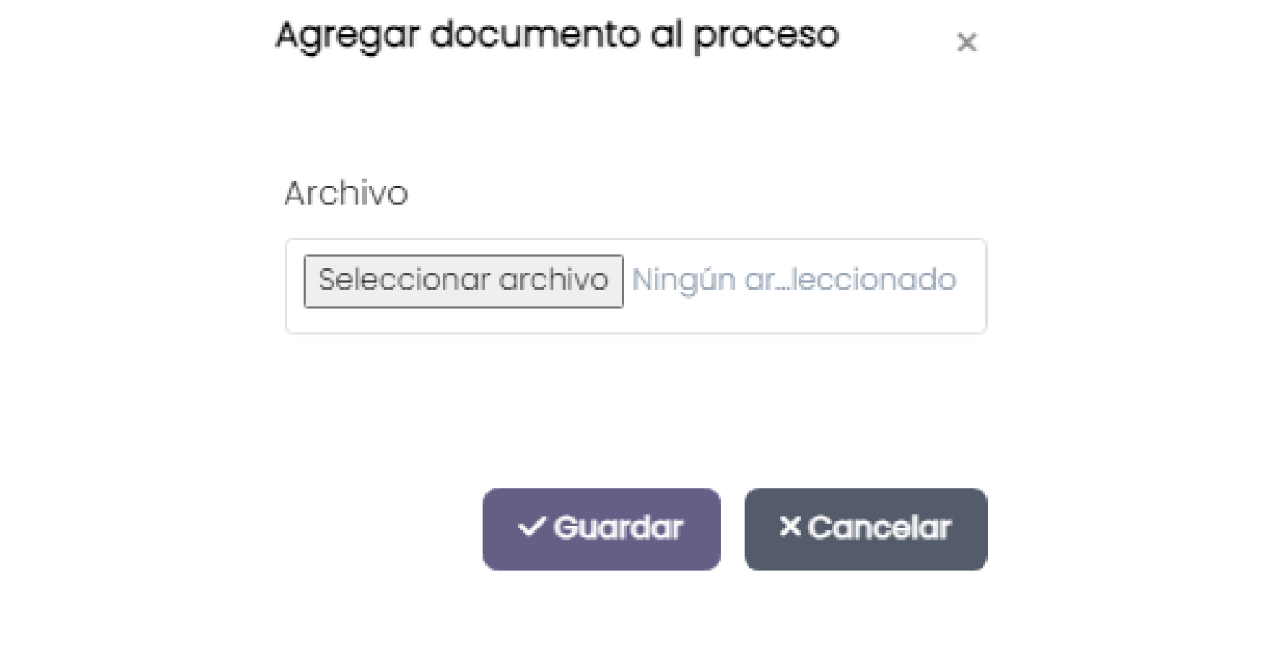
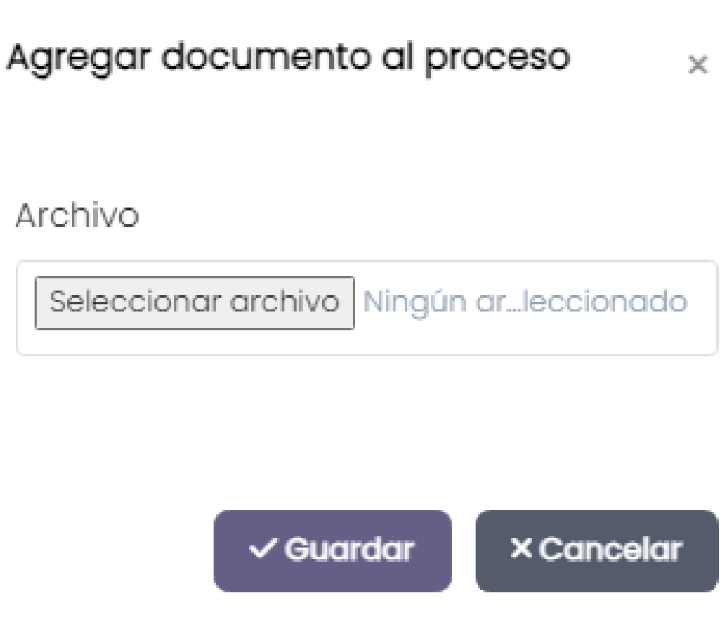
Add Documents: Selecting this option will open an additional window allowing you to add and link a document to the performance. To do so, click Select File, choose the file you want to attach and then press the Save button to complete the process.
Add a note: This option will allow you to add notes to performances. Once you click on the button, the following window will appear:
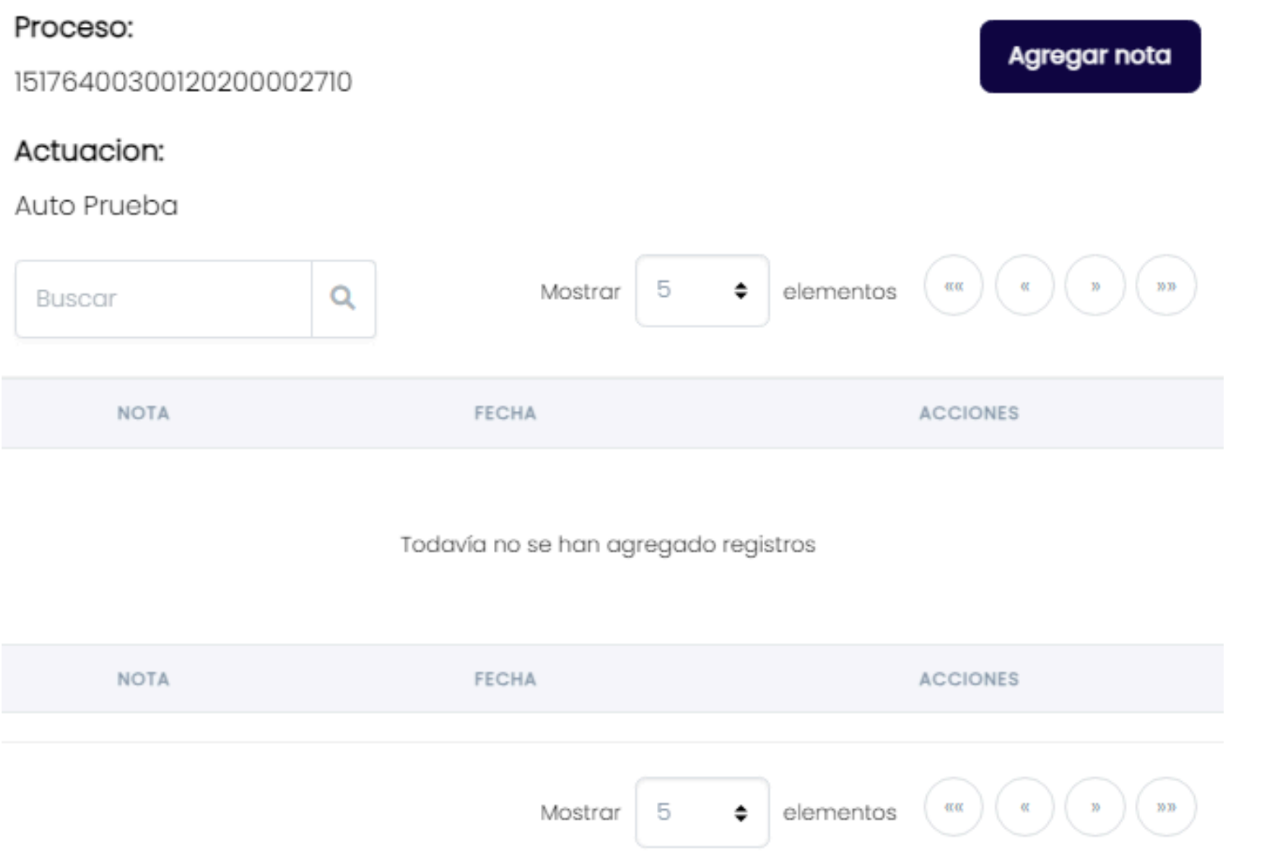
Now, click on the Add Note button and a new window will appear:
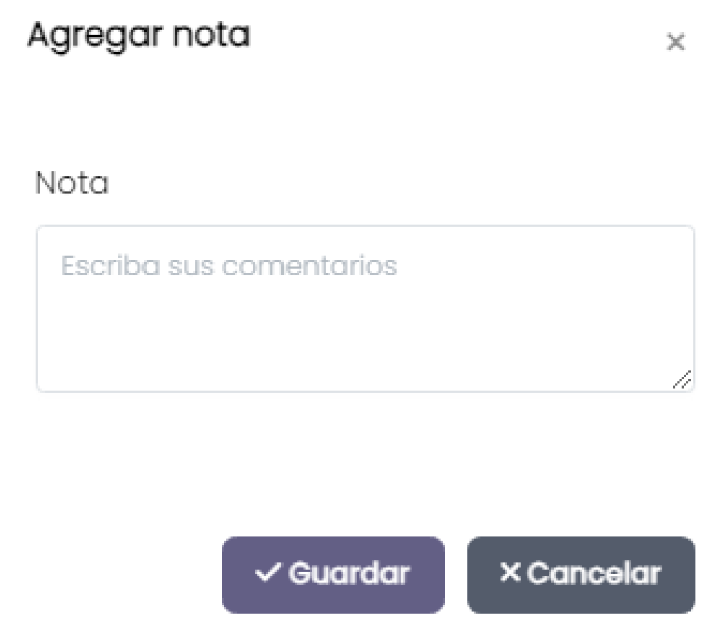
Write the text of the note and then click save.
Add documents: Selecting this option will open an additional window allowing you to add and link a document to the performance.
Add a note: This option will allow you to add notes to performances. Once you click on the button, the following window will appear:
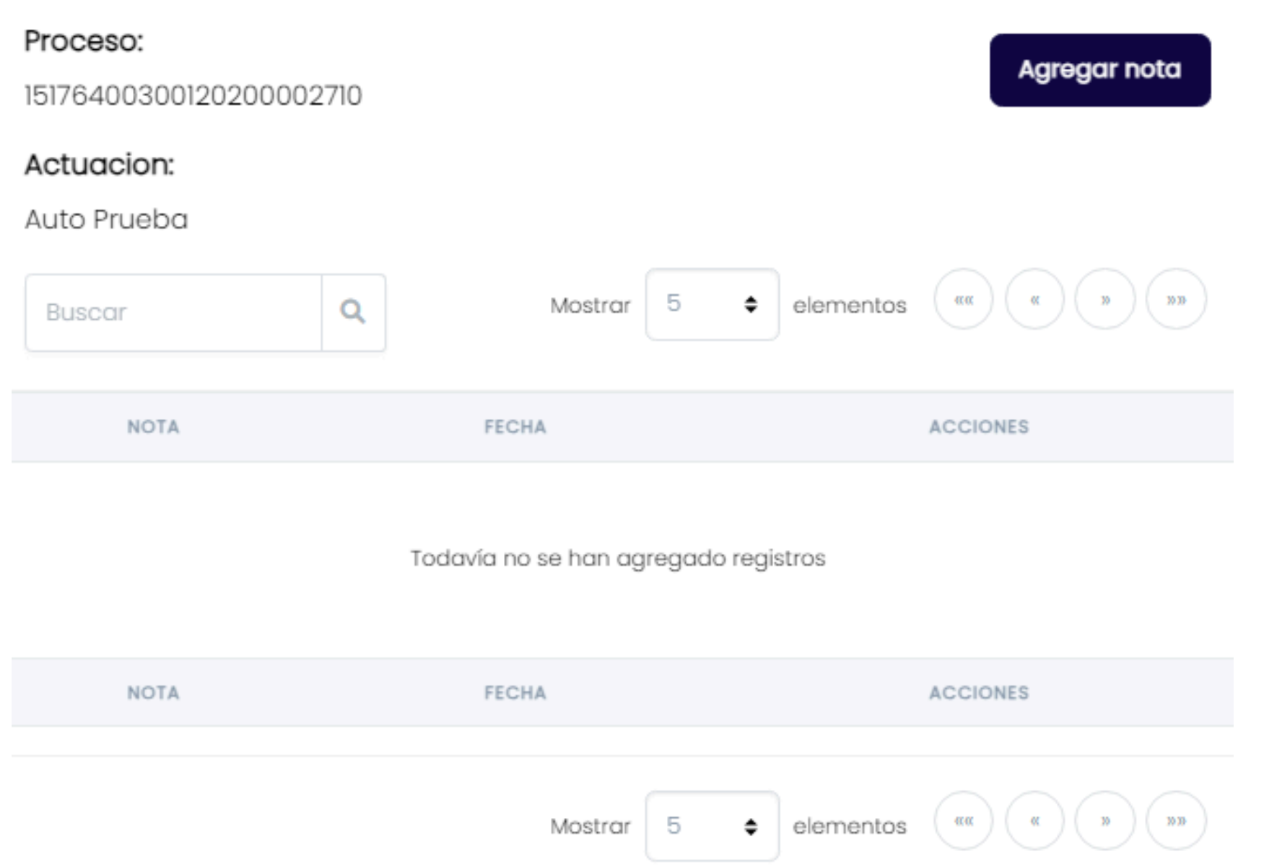
Now, click on the Add Note button and a new window will appear:
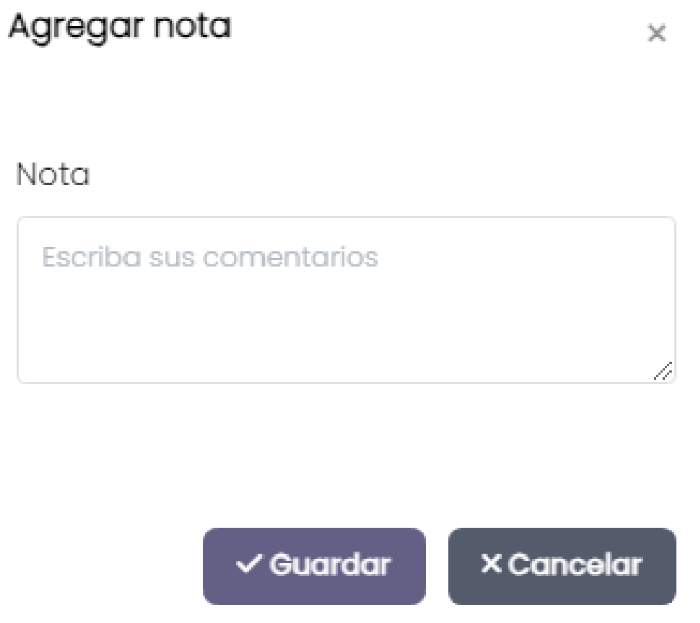
Write the text of the note and then click save.
Add alarm: By clicking on this option, a new window will appear in which you can add alarms to the actions:
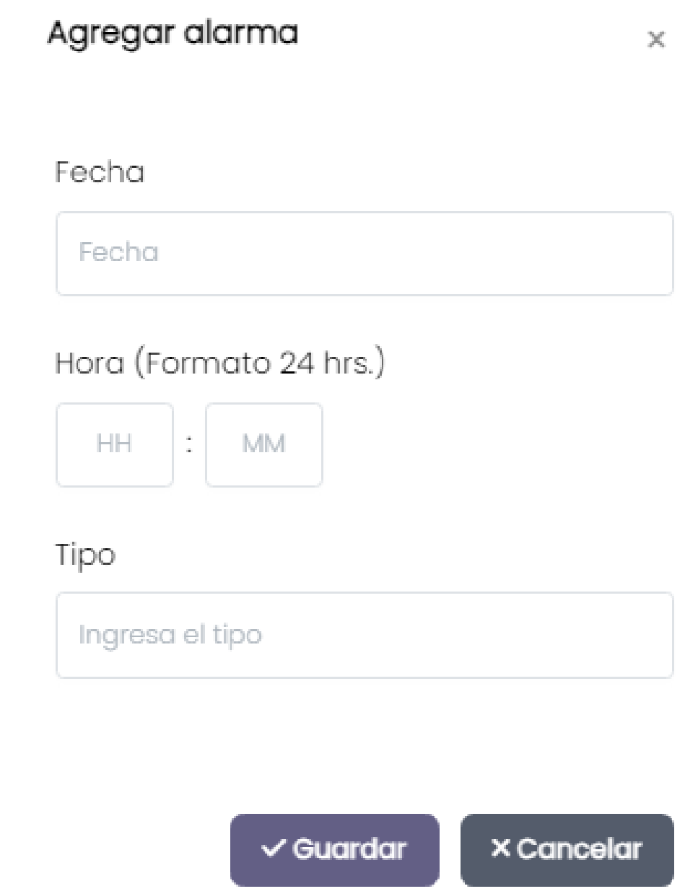
Fill in the date, time and choose the type of alarm you want to link
Delete Performance: This option will allow you to delete the action created, which will also delete the documents, notes and/or alarms linked to it:
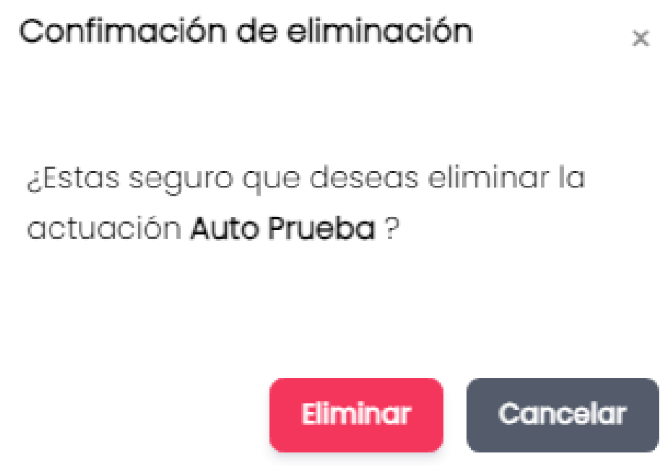
By selecting this option, a window will open where you must click on the "Delete" button to confirm the deletion of the performance.
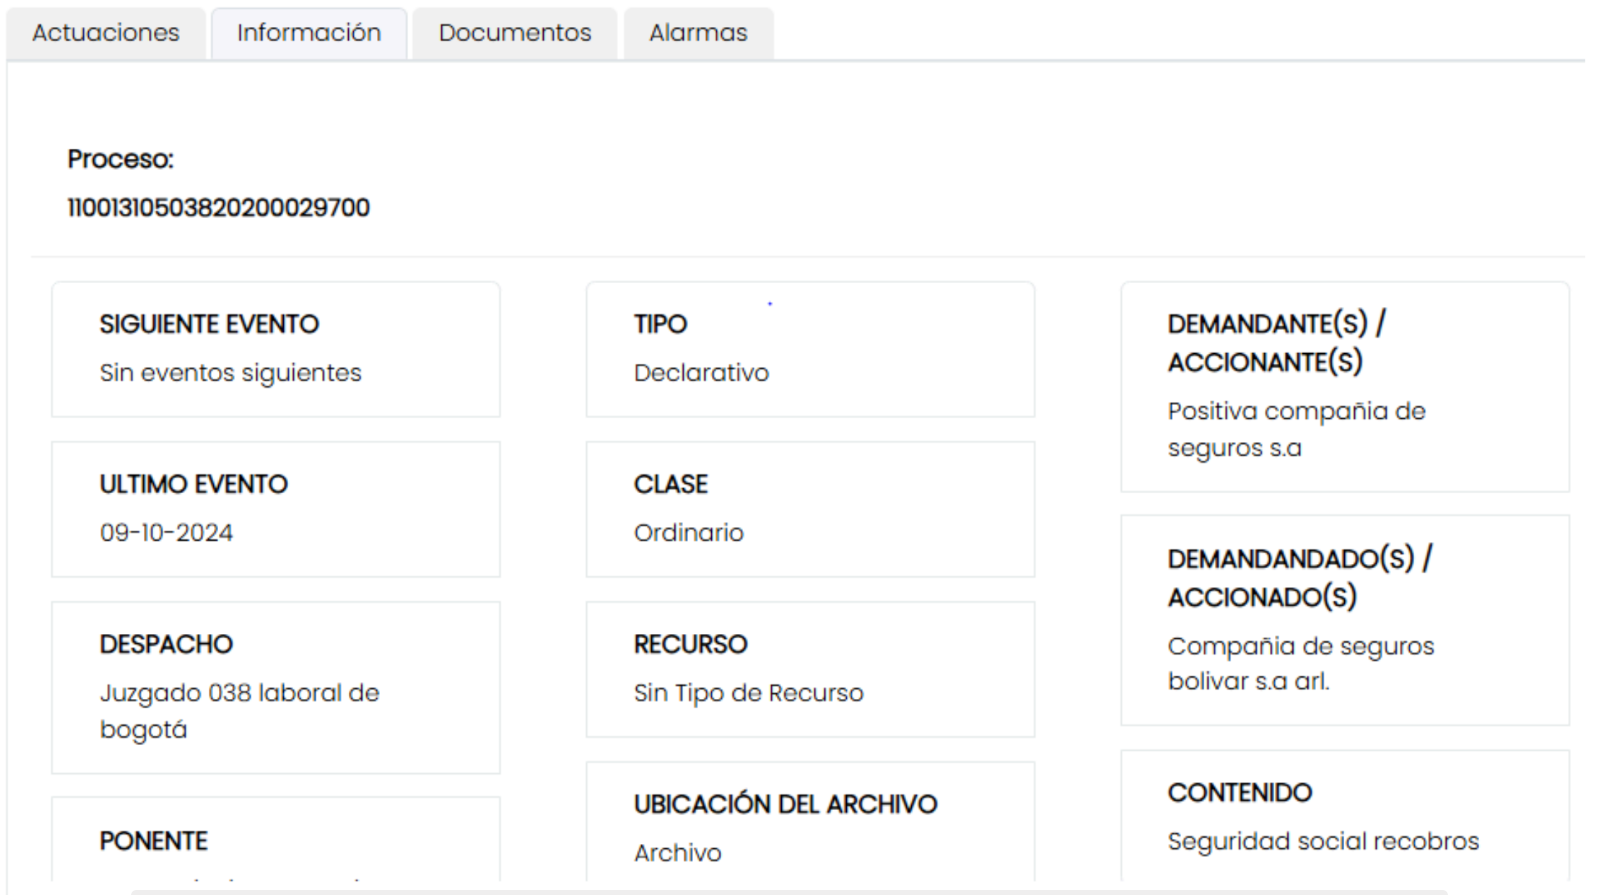
Tab 2: Information
View the general file of the filing: Names of the parties (Plaintiff/Defendant), Court or Office of origin, current procedural stage and date of original filing of the litigation.
Tab 3: Documents
Section to store memorials, writs and documentary evidence in PDF or image:
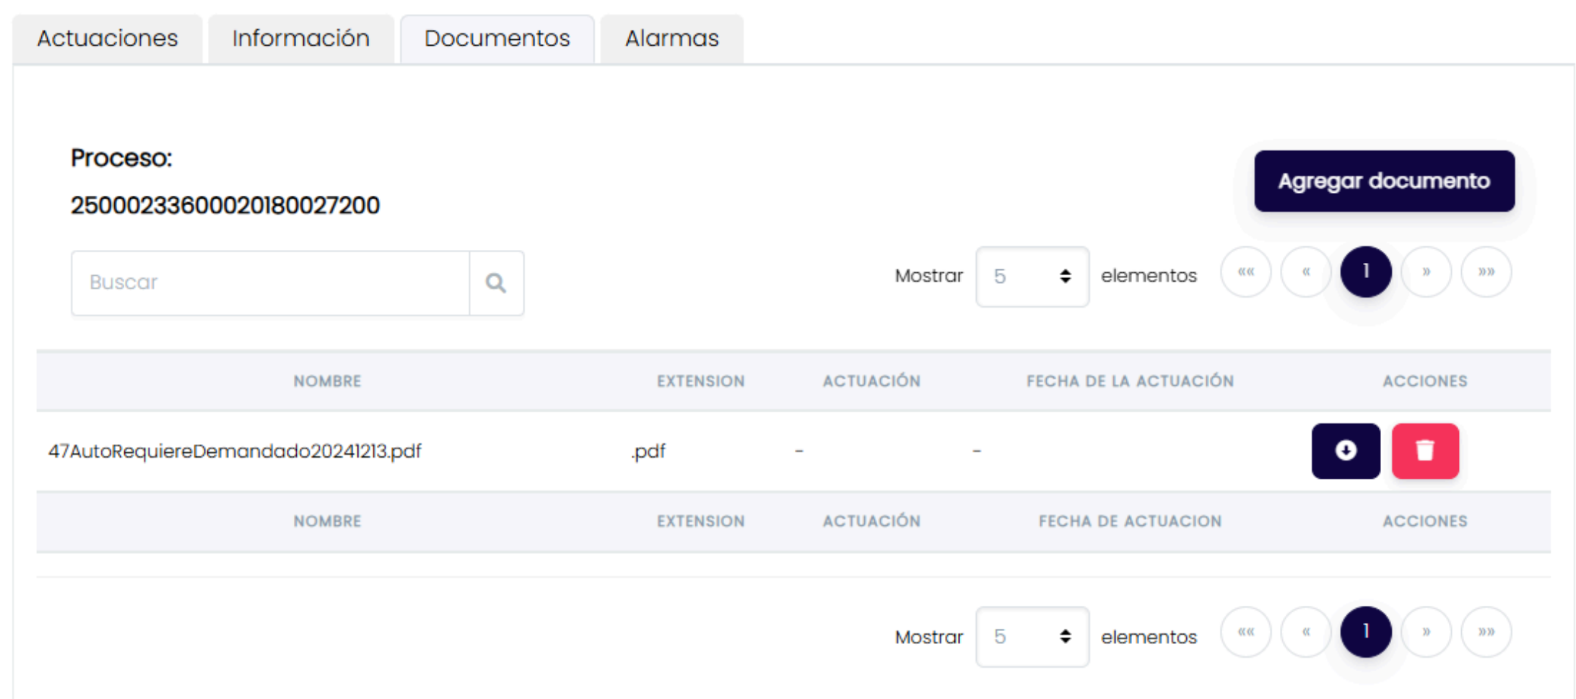
- Click "Add Document".
- Press "Select a file" to open your computer's file explorer and choose the document medium.
- Click "Save". The system will upload the file and display the alert "The document has been added successfully".
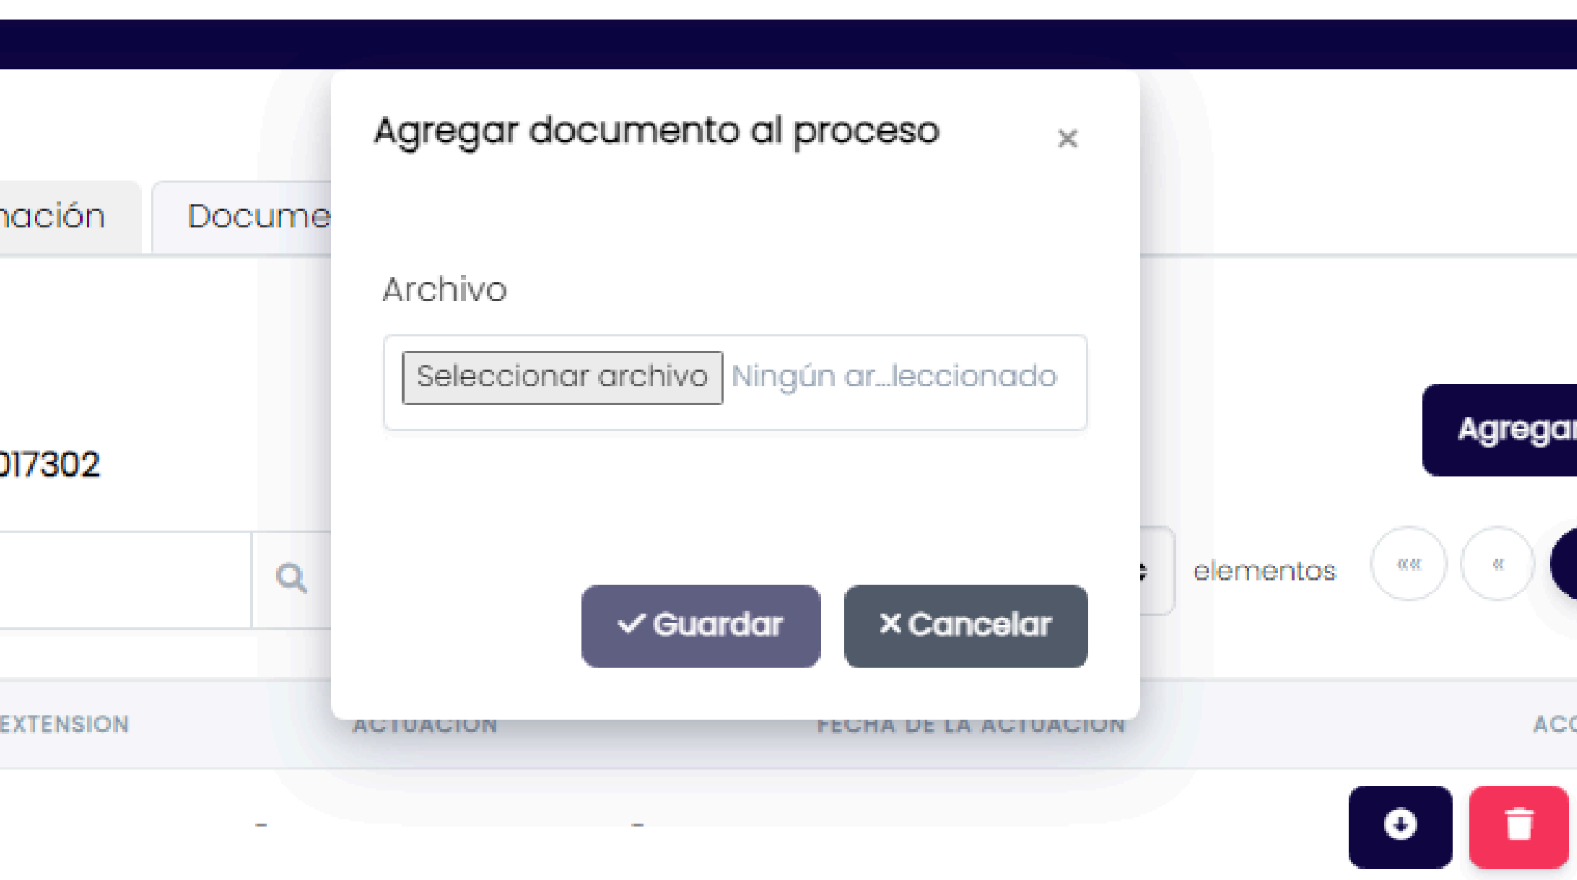
- After clicking on the "Select a file" button and it will automatically open your computer's file explorer, browse your folder directory, select the file you want to upload and click "Open", and once the file is selected, click Save. A notification will appear on the right side of the screen indicating that "The document has been added successfully" and will be available for viewing within the process documents, for the example, a file called QR.png was uploaded.
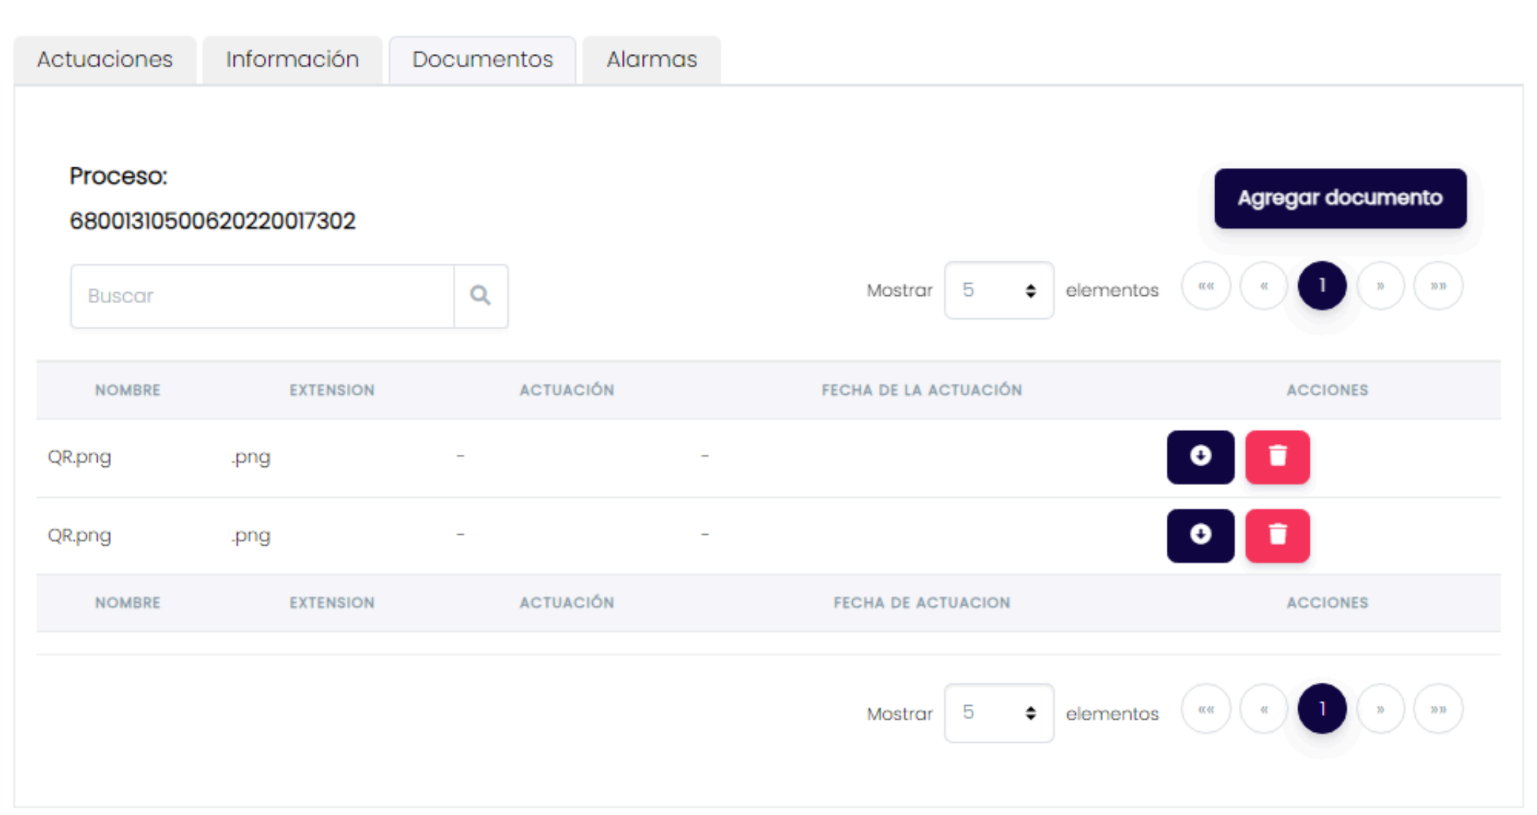
If you wish to view or delete the document, use the options available below.
Download: This option will allow you to download the file in question.
Delete: This option will allow you to delete the file in question.
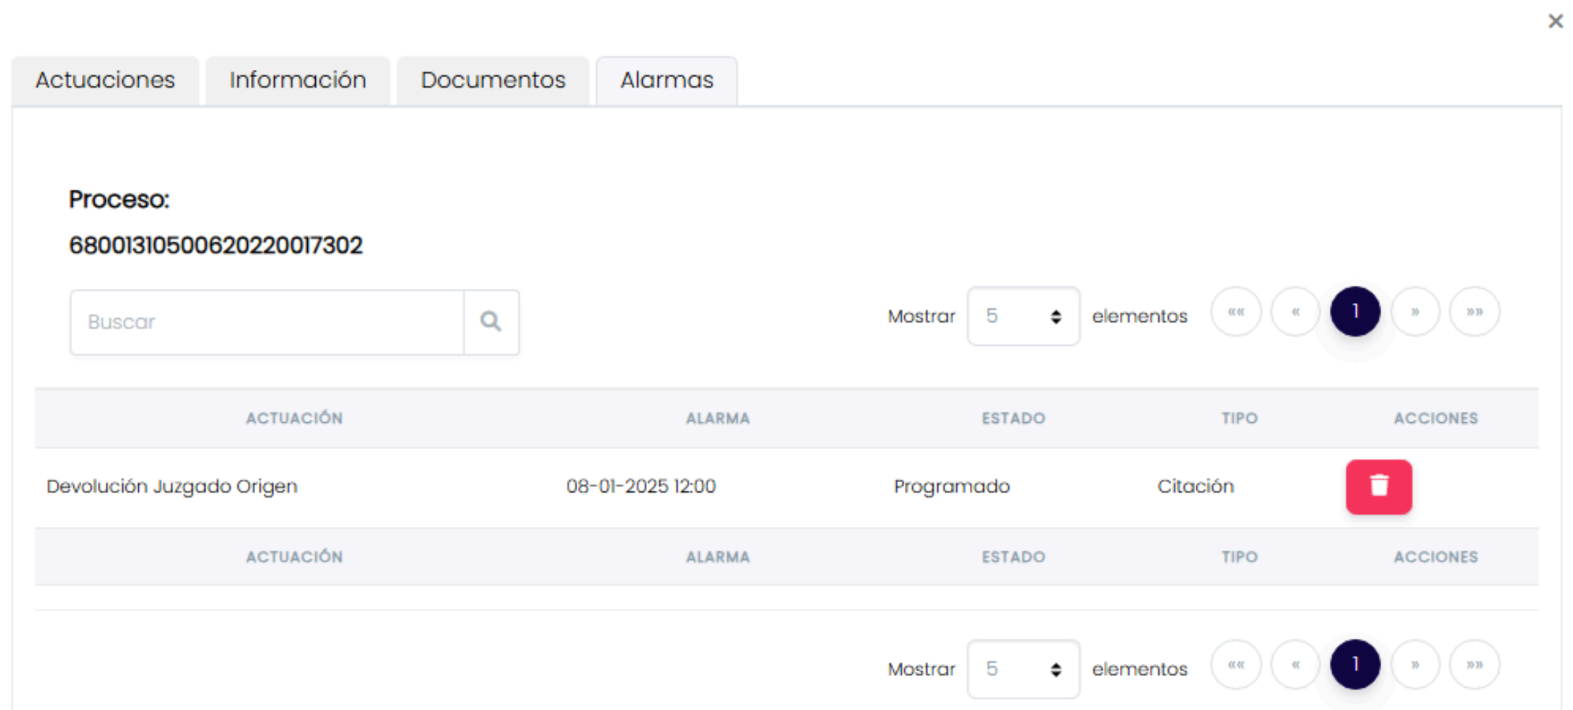
Tab 4: Alarms
Shows the temporary alerts created for the actions of this specific process, facilitating the control of terms by the team assigned to the case.

Roles and Permissions Required
Access to the My Processes console and its folders by source is governed by the following security permissions:
- Visualization and Consultation:
processes_read/my_processes_read: Allows read access to the files tray and its folders in the left panel (CPNU, TYBA, SAMAI, Microsites, SIUGJ, SIPI).process_comments_readandprocess_tasks_read: Enable the display of the history of comments, tasks and action history in the actions column.
- Operational Management (Writing):
my_processes_create/my_processes_update: Grant authorization to create new files (green button Create Process), link court cases, modify labels and add follow-up comments.
- Elimination:
my_processes_delete: Allows you to permanently delete records from the platform.