Project Management
Description, Purpose and Objective
NOTE
The Project Management view is the central ERP module that allows you to record and parameterize the operations and assignments of the organization's different developments, contracts or consultancies.
A Project is a temporary and structured work unit that brings together human, technical and financial resources to meet a specific objective contracted by a Client (the external entity receiving the service). Each project has a Suffix (shortcode and project identifier), a Billing Currency, and allocations for storage (Google Drive), communication (Email/Chat), and technical integration (Azure DevOps).
The objective of this view is to centralize the technical and administrative information sheet of the projects, defining the file repositories, communication channels, software integration credentials and the responsible manager or PM (Project Manager).
Context of Use
This module is used regularly by corporate management personnel and operations directors to:
- Register new projects: Link signed contracts to a client and configure your entire startup digital infrastructure.
- Assign project leaders: Formally designate the Project Manager (PM) responsible for payroll and expense approval.
- Set up repositories and integrations: Centralize Drive folder links for the technical team, administrators and externals, as well as link the project ID in Azure DevOps for synchronization of development tasks.
- Update progress statuses: Monitor and change the status of the project throughout its life cycle (e.g. Active, Paused, Completed).
Possible Actions
1. Consult and Search Projects
Allows you to view the general project table with all the columns configured in the system. Due to the volume of technical information, the table includes scroll bars and allows real-time searches by entering keywords in the upper search engine.

2. Add a New Project
To register a project on the platform:
- Click the "Add Project" button at the top right of the table.

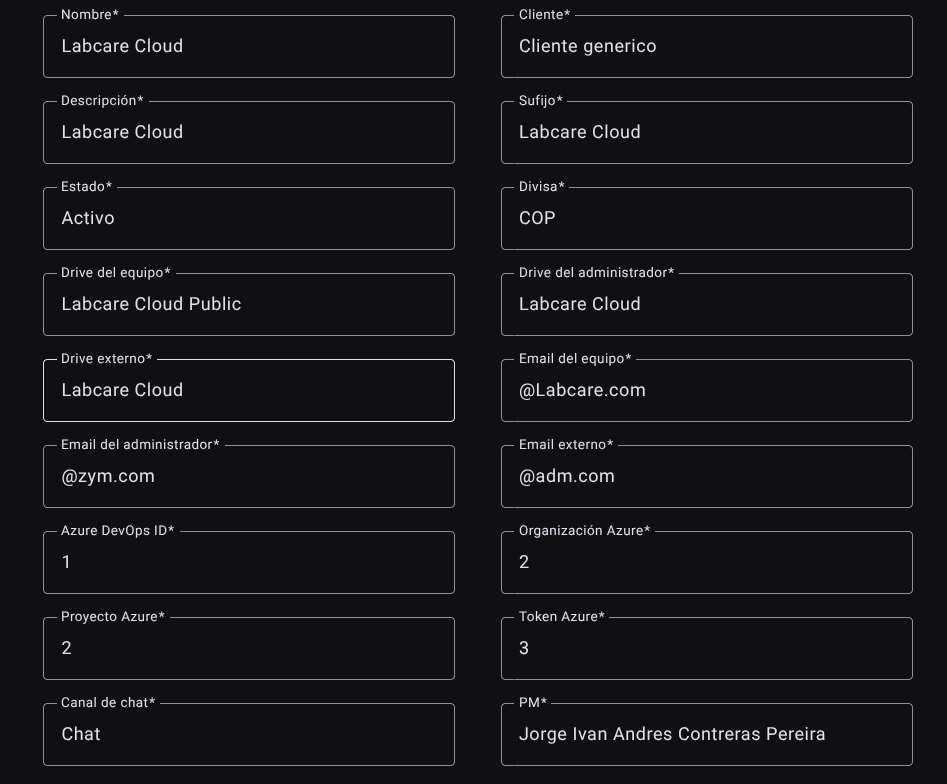
- Fill out the lateral form divided into the following data blocks:
- Basic Information:
- Name: Full name of the project.
- Client: Select from the auto-complete list of registered corporate clients.
- Description: Detail or general scope of the project.
- Suffix: Unique project identifier acronym (e.g.
MIDNAorPEEC). - Status: Initial status of the project (e.g.
Activo). - Currency: Select the currency in which the project is quoted and invoiced (e.g.
USD,COP).
- Storage Infrastructure (Google Drive):
- Team Drive: Link or identifier of the shared development folder.
- Administrator Drive: Link to the financial control and contracts folder.
- External drive: Shared folder of deliverables visible to the client.
- Communication Channels:
- Team email: Group email address of the work team.
- Administrator email: Project billing administrator email.
- Basic Information:
- External email: Email of the client's main contact. * Chat channel: Group chat channel identifier or link (e.g. Slack, Teams).
- Azure DevOps Integration:
- Azure DevOps ID: Project integration code.
- Azure Organization: Name of the workspace in Azure.
- Azure Project: Name of the project in the Azure DevOps repository.
- Azure Token: Technical access token to enable automated synchronization.
- Operational Manager:
- PM: Select the Project Manager in charge from the autocomplete list.
- Azure DevOps Integration:
- Press the "Add" button to register the project.

3. Edit a Project
If you need to modify or add integration parameters, change PMs, or update Drive folders:
- Find the project in the table and click "Edit" (pencil icon ✏️).
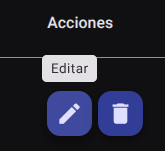
- The side form will open with all the pre-established technical information.
- Make the necessary changes to any of the fields. There are no restrictions on changing infrastructure bindings or credentials.
- Click "Update" to apply the changes immediately.

4. Delete a Project
To permanently delete a project tab:
- Click the trash icon (🗑️) of the corresponding project.
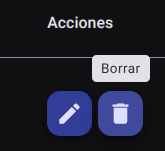
- confirm the action in the verification modal.
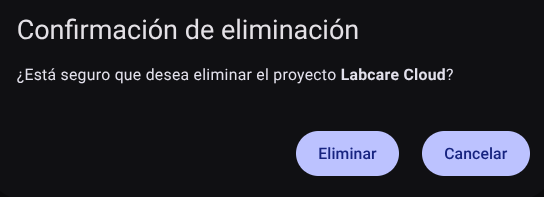
CAUTION
Deleting a project is irreversible. The system will block deletion if the project is being referenced in other active modules, such as current user contracts, posted refunds, or collaborator time tracking records.
5. Export Project Database
Allows you to download the organization's list of projects with all their technical data sheets and integrations. Click the download button in the table header to download a file in .CSV format.
Required Technical Permits
Viewing and managing the project catalog is governed by the following privileges in the user role:
projects_read: Allows you to enter the view, list the projects and perform searches.projects_create: Enable the form for creating and inserting new projects.projects_update: Allows you to edit general information fields, Drive links, emails, and Azure tokens.projects_delete: Authorizes the definitive deletion of projects.projects_export: Allows downloading the general list in.CSVfile format.