User Administration
Description, Purpose and Objective
NOTE
The User Administration view is the section of the platform that allows you to control the access of staff and collaborators to the system, managing their credentials, personal data and security profiles.
A User is any account with active credentials that logs into the system under a given role. The platform classifies accounts into three main types: Internal User (direct collaborator who has a supervisor and assigned office), External User (staff or indirect client) and Patient User (final recipient of health services with clinical metrics such as weight and height).
The objective of this module is to centralize account management, guaranteeing that each person is correctly identified and has only the access that corresponds to them.
Context of Use
This module is used by organization Administrators to:
- Register new collaborators: Register employees (internal users) with their respective contractual information and supervision.
- Create accounts for clients or contractors: Enable external users.
- Register patients: Register health users (patients) linked to service providers.
- Credential support: Change forgotten passwords or temporarily suspend access (deactivate) accounts for security or job separation reasons.
Possible Actions
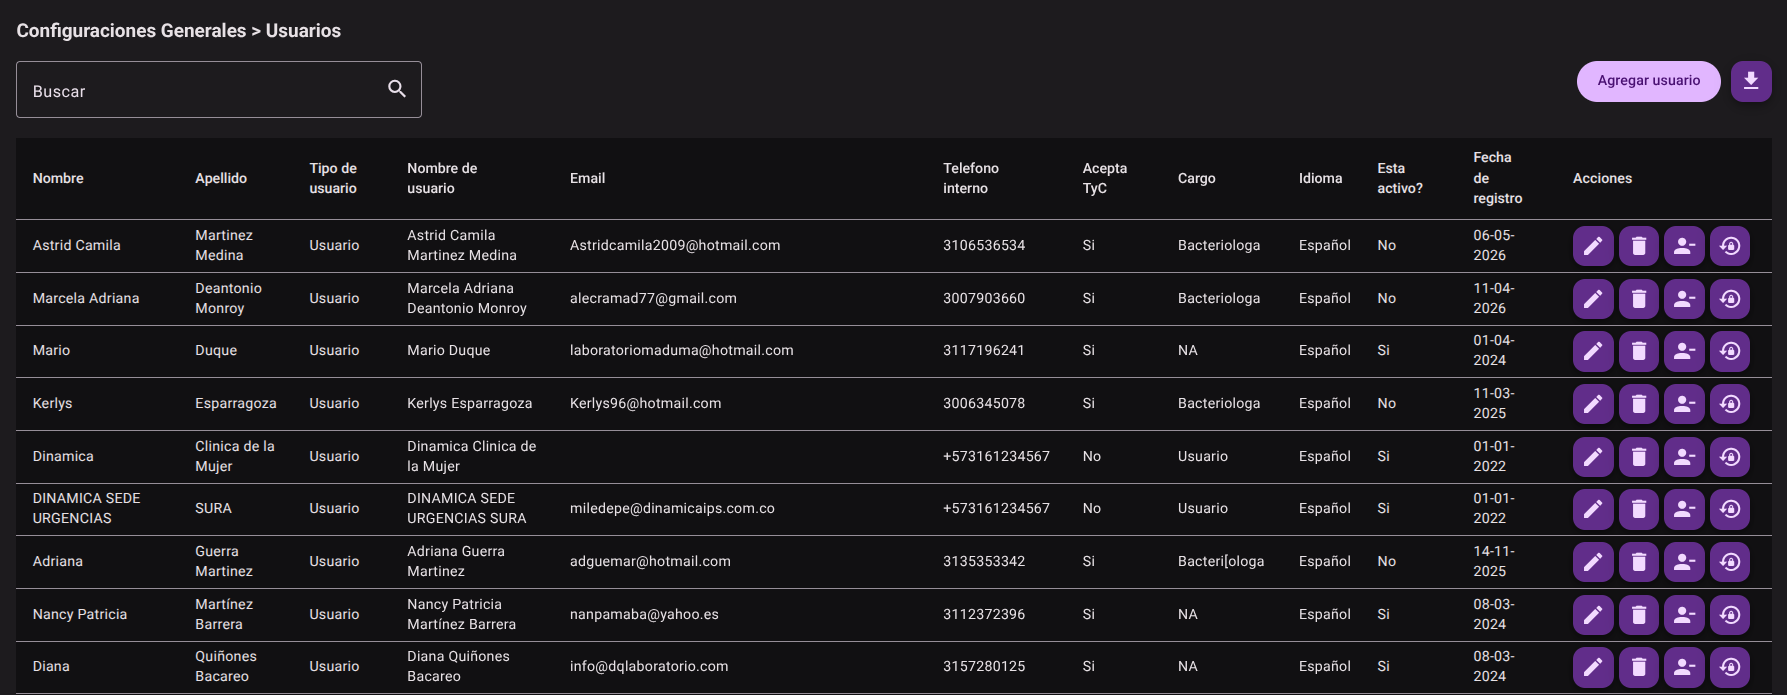
1. View and List Users
Displays a table with all the users registered for the organization, detailing their name, email, role, user type (internal, external or patient) and activity status.
2. Add a New User
To create an account, click the add button corresponding to the required user type:
Add User
- Click "Add User".

- Fill out the form with the basic information:
- Personal Information: Name, surname, email, telephone, address, neighborhood, city, country and preferred language.
- Identification: Type, number and date of issue of the document, and date of birth.
- Security: Status, position and assignment of the corresponding Role.
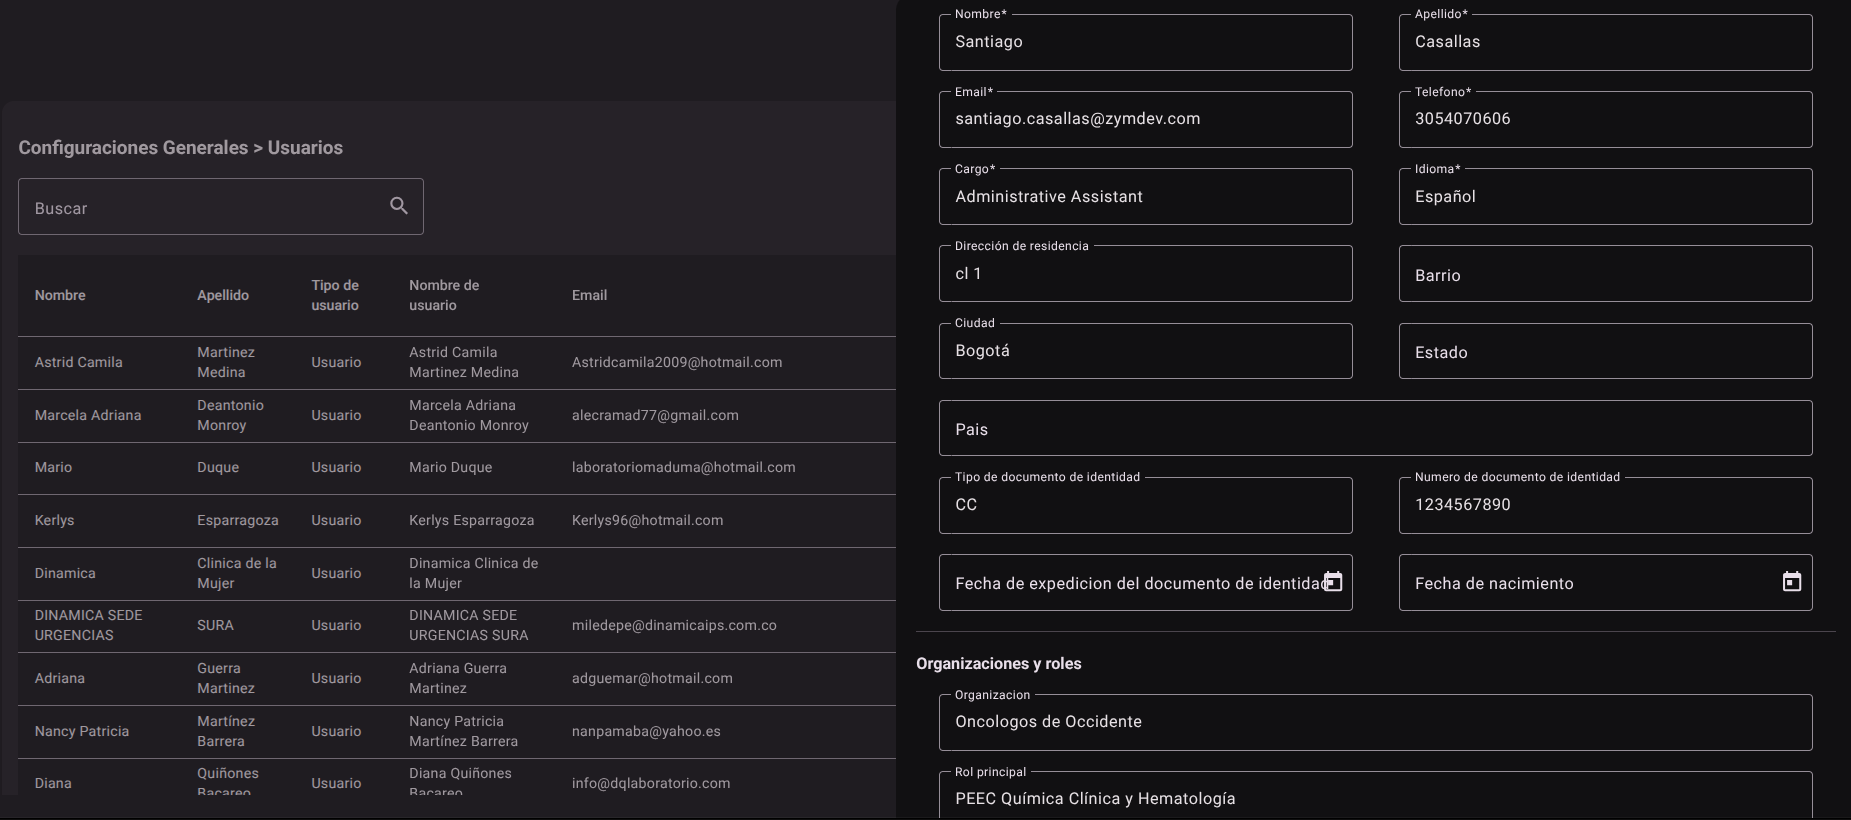
- Click "Add" to create the account.

Add Internal User
- Click "Add internal user".
- Complete the form information (includes the same external user data plus organization-specific fields):
- Corporate Structure: Assigned office, direct supervisor and department to which it belongs.
- Travel Documentation: Passport and date of issue of the passport.
- Click "Save" to create the record.
Add Patient
- Click "Add Patient".
- Complete the form with the specific clinical and identification fields:
- Clinical Data: Weight (in kilograms), height (in centimeters) and profession of the patient.
- Service: Associated health service provider and corresponding role on the platform.
- Click "Save" to confirm.
3. Edit a User
To modify the contact or work information of a registered user:
- Locate the user in the table and click "Edit" (pencil icon ✏️).
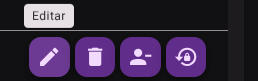
- The form will load with the current information. Make any necessary changes to the address, title, phone number or role.
- Click "Update" to save.
WARNING
For security and login integrity (authentication) reasons, the email address cannot be modified once the account has been created. 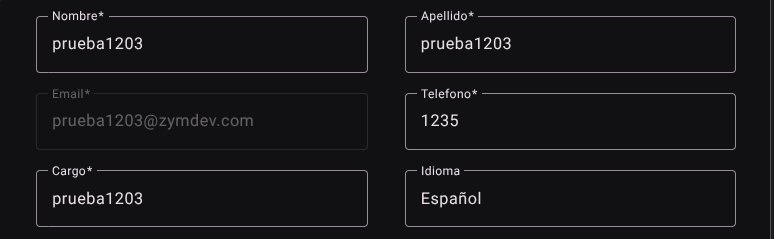
4. Delete a User
To permanently delete a user account:
- Locate the record and click "Delete" (trash icon 🗑️).
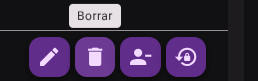
- confirm the action in the confirmation modal.
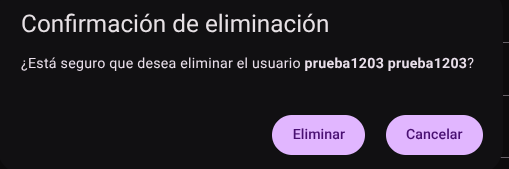
CAUTION
Deleting a user is permanent and will erase their direct connection with the organization. If the user has associated historical records (such as process uploads or results entries), it is recommended to change their status to Inactive instead of deleting the account to preserve data traceability.
5. Activate or Deactivate User
Allows you to quickly suspend or restore access to the platform without having to delete the user's historical data:
- Click the status switch or icon in the corresponding user's row.
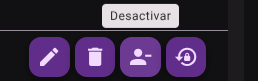
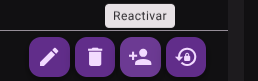
- The system will toggle the Are You Active? between Yes (access allowed) No (access temporarily denied).
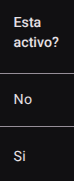
6. Change Password from the Administrator
Allows you to safely redefine the password of a user who has forgotten their access credentials:
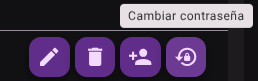
- Click the key icon or "Change Password" in the actions column.
- In the pop-up form, enter the new password and confirm it in the corresponding verification field.
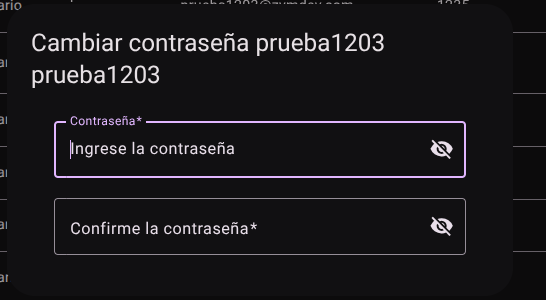
- Click "Change Password" to save.
7. Export User List
To download the organization's user database, click the download icon in the upper right corner. A file in .CSV format will automatically download with the account information.
8. Search User
To search for any user by name or other character, type the first name, last name, username, email, phone number, etc., in the search bar

Roles and Permissions Required
Access to these global system parameters is restricted to the General Administrator or Platform Support role. Requires the following permissions:
- Geographic and UI parameters:
country_read,state_read,languages_readandmenus_read. - Entities and Licensing:
memberships_read,system_products_readandconfig_refs_read. - Traceability:
tags_readandincident_tracking_read(for incident tracking). - Write Actions: Permissions with corresponding
_createand_updatesuffixes to modify system tables.